


Forced perspective is a film and photographic technique used to fool the eye to think something is smaller that it actually is or something is larger than it is. We tried this technique to take two different sized block look like they are the same size and making a little spaceship looking larger than it is. This technique isn’t used as much in film as CGI (Computer Generated Images) is much cheaper and easier to do these days, But some films like Lord of the Rings used these practical effects to make Frodo look smaller than Gandalf.

The way they did this was making half the table smaller than normal and putting the Gandalf character closer to the camera than Frodo, they aren’t facing each other. they are apart from each other.

We experienced this at the Warner Brother Studios and gave us inspiration, so we thought we should try this out.

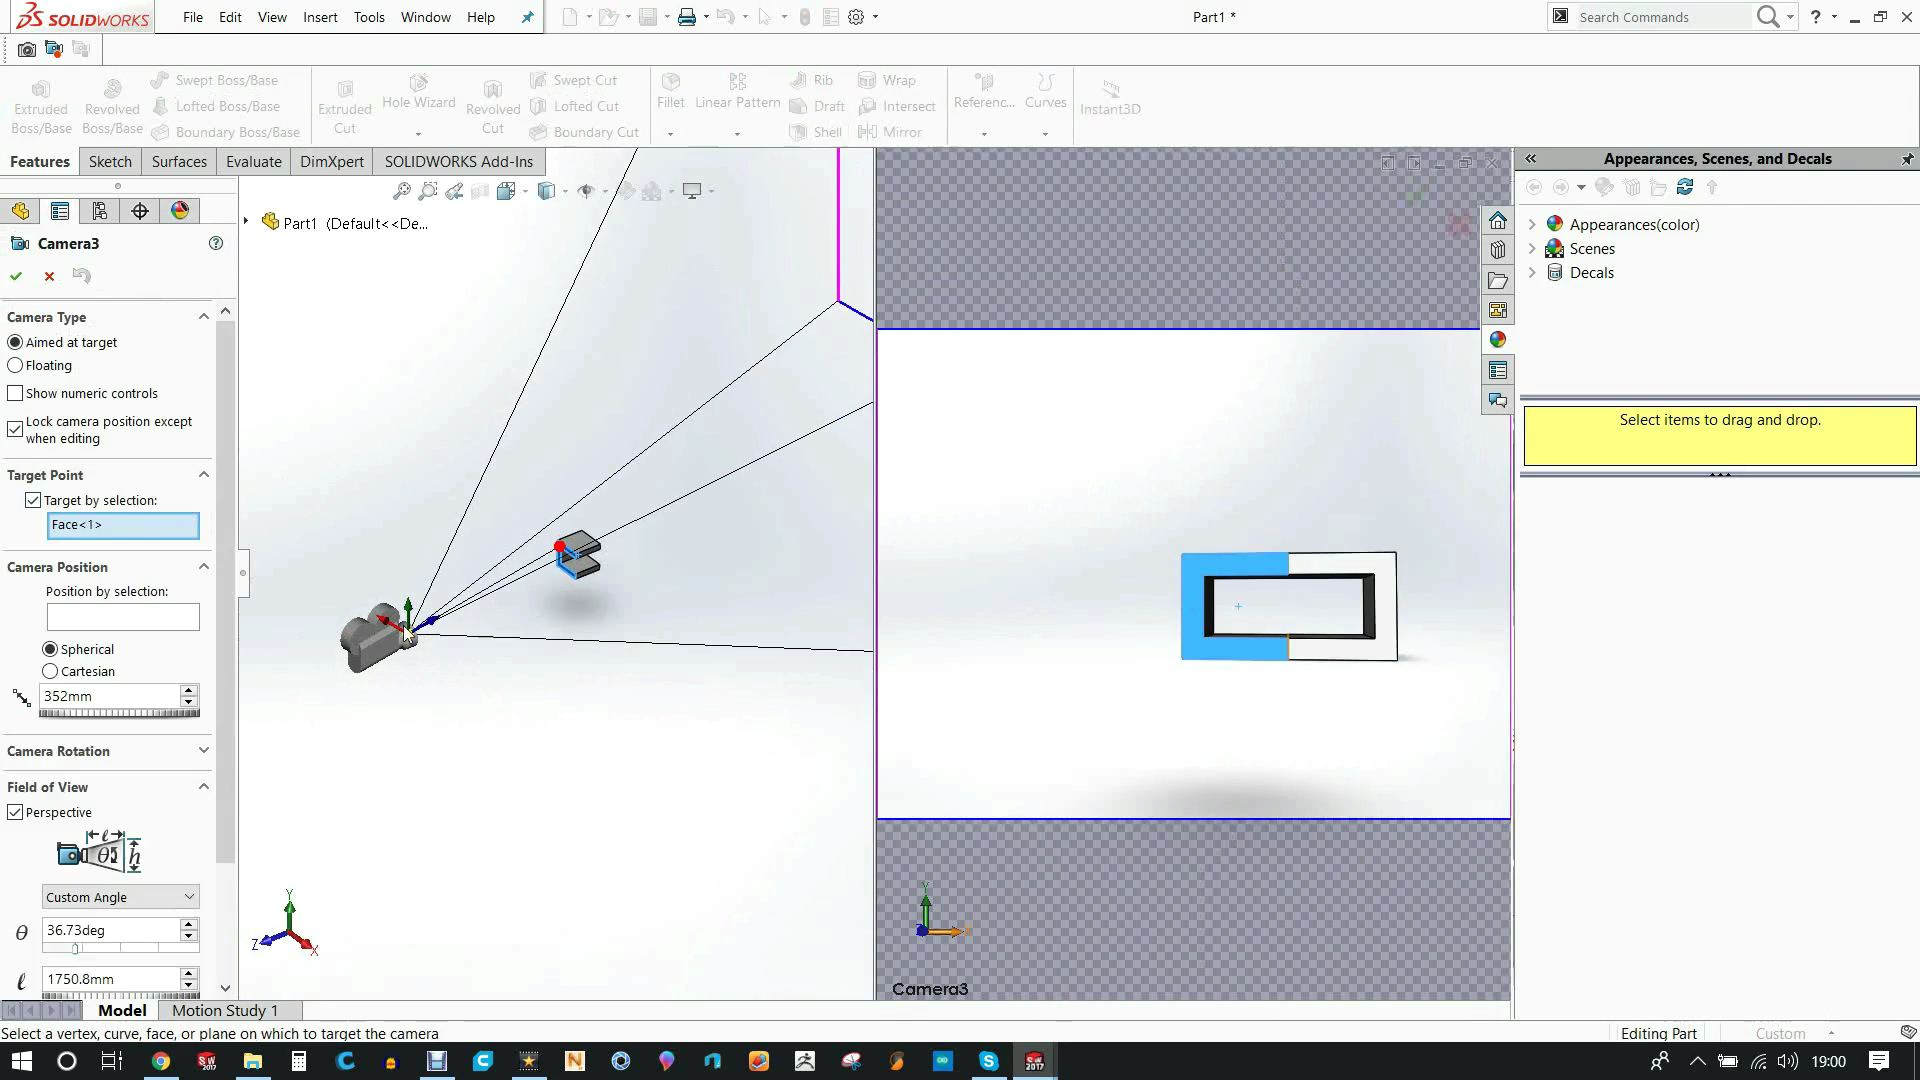
In SOLIDWORKS we created two models. one that was 50mm cubed and the other 200mm cubed. Four times larger than the smaller block. We cut out a hollow bit in the middle to help show off the illusion. Then added in a camera and fiddled until the two looked the same size. Then did some fine tuning on the model until it all lined up. Lastly added a material and did a quick preview window render, this made it look like one which is what we wanted to achieve.


We then rigged up the smaller cube on a tripod and placed the larger one on a table. After a bit of alignment and getting the angle right the illusion worked!


This means a set designer can design and plan a set to do all the engineering and math in SOLIDWORKS before building the full set. All potential problems can be corrected digitally and the final set can be made flawlessly. On the smaller square, we 3D printed, we added a clear perspex rod. This allows us to get rid of the rod in post processing to make it seem like it is one part. This is a similar way they got rid of the rigging in sets on films like Star Wars, which gave us the idea to make a space ship!

We decided to use the X-wing model we used in an earlier tutorial. Follow the link to see how we design the wing. We printed out the whole body and only the right hand wings as you won’t see the left side. We drilled a hole in the back to insert a clear rod.

For this illusion to work we needed a much larger space so we headed to a park. Mounted the W-wing on a tripod and the camera just behind it. ien needed to go for a little walk to a bench which I set my marker. This gave a simple illusion that the x-wing was full size.


These old illusions are great practical effects and the beauty of practical effects is that they age much better than CGI. With computers getting more powerful, CGI gets cheaper to do, but some films still use practical effects and those films are the ones that stay timeless in my opinion.

Kirby Downey
Categories: 3D Printing, SOLIDWORKS 2017