


Every SOLIDWORKS user has a basic understanding of how file references work. We typically make a part then create a drawing that shows views of this part. When creating the views on the drawing, what is really happening is the drawing views are looking at the actual part file and displaying it in a way that is based on our view settings. We say that the drawing references the part file. The power of references comes when we need to make a design change and update the part file, by adding a new feature, changing a dimension, or even changing a property like the description. We change it in a single file and every file that references that part will automatically be changed. The same references happen when we insert a part (or sub-assembly) into an assembly. The assembly file references the part. Then, if we make a change to the part the assembly updates. These two types of references are used every day by typical SOLIDWORKS users.
Now, wouldn’t it be great if we could use the same functionality between 2 part files? Of course it would, and yes, SOLIDWORKS can do it. We call this type of part to part referencing “Derived Parts.” Derived parts are used to create a part file that will update when the original part file is updated. There are several good examples for using Derived Parts but one of the most common uses is creating an “opposite-hand version.”
Opposite Hand Version
We can first create one part for say the left side.
Next, we right click the solid body under the solid bodies folder and select Insert into New Part.

Select your options. Then give the part a name.

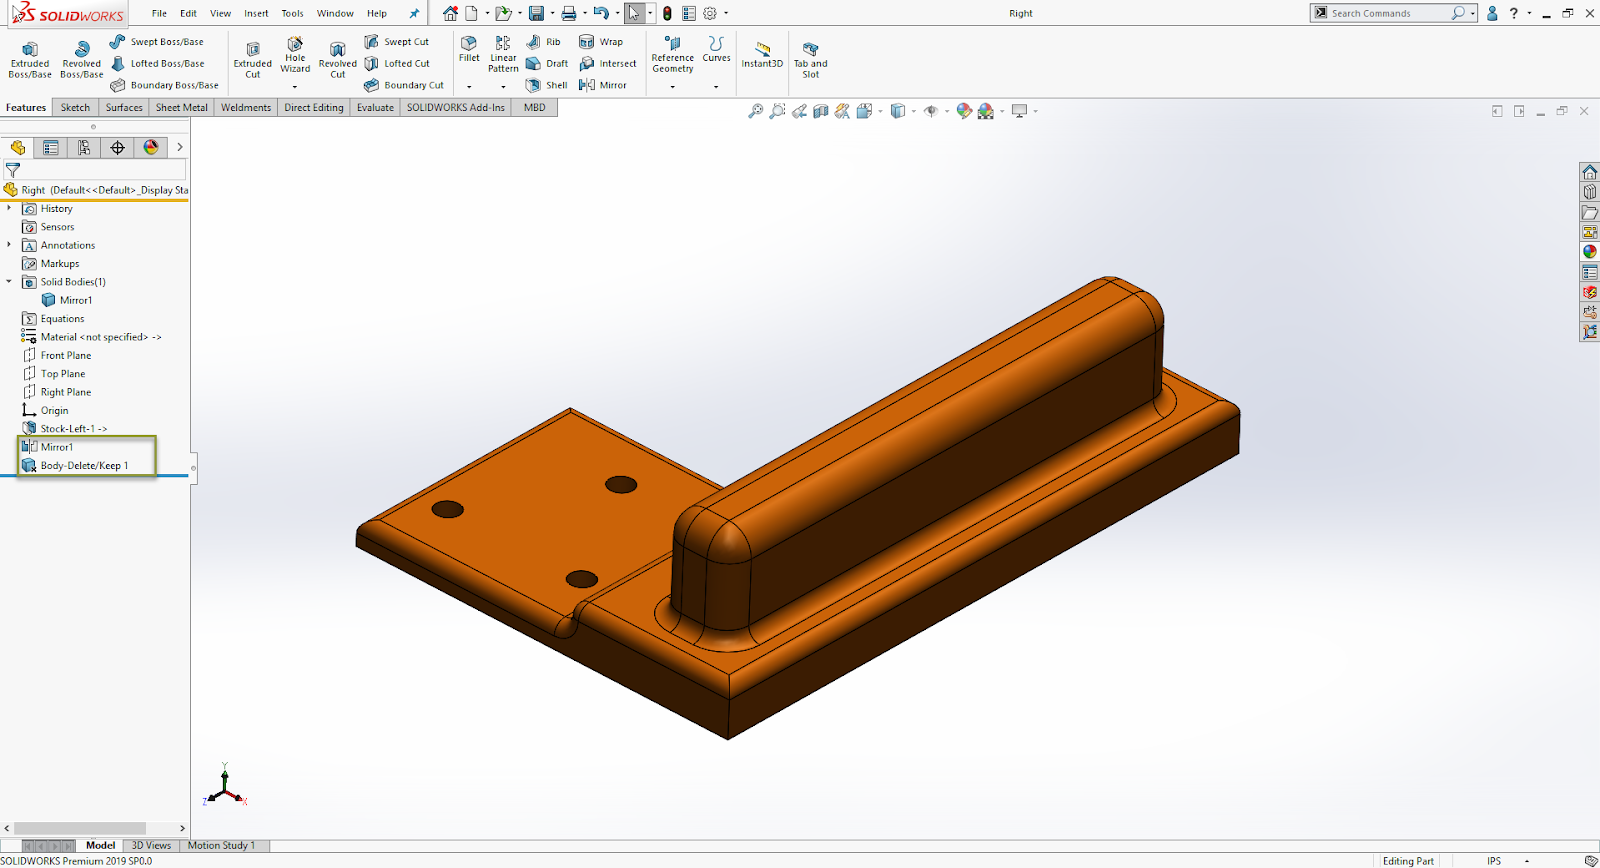
We are then left with a new part with a single feature. This feature cannot be edited. The -> after the feature name tells us that there is an external reference to another file.
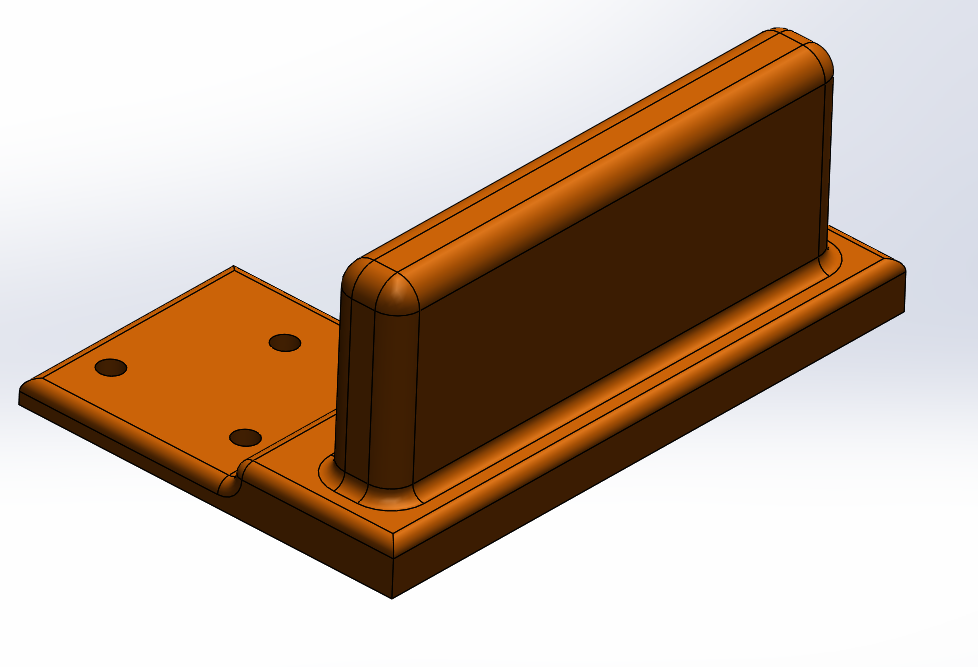
However, just because we cannot edit this feature does not mean that we cannot add features to it. Now, I can use a mirror feature and choose the body to mirror and uncheck the merge bodies option to get my “opposite hand” part. Finally we delete the original body to leave us with a single body or the right hand version.
Now, if we make a change to the left side.

We see the change on the right side part.
Mold/Casting
Another use of derived parts is with creating a mold or casting. In this case we can create a derived part by first creating a new part then use the command Insert>Part… Then, choose your part and which entities you want to transfer.
After inserting the part we can now add our casting block and use the combine feature to subract out the actual part.
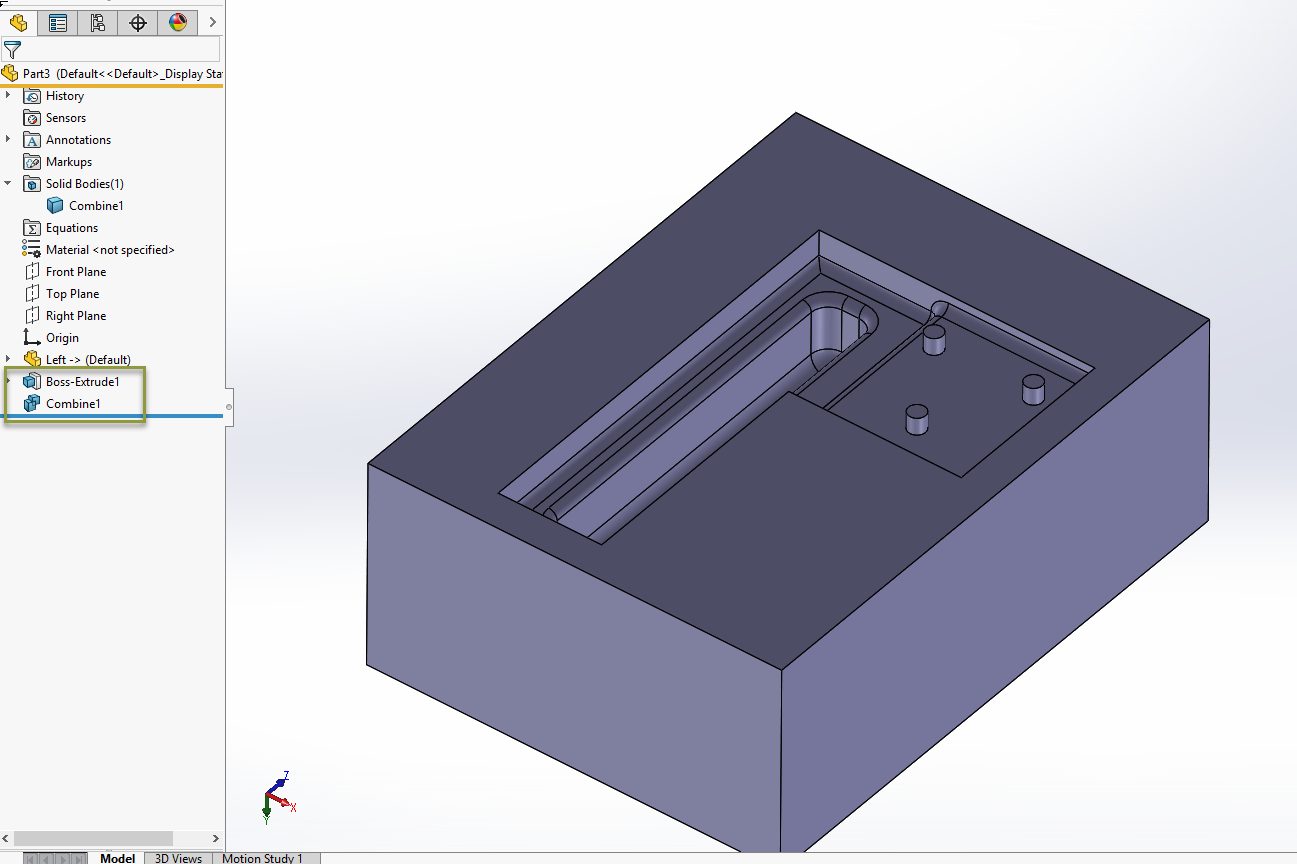
Now if we make a change to the actual part the casting will update as well.
Other examples of using derived parts can include creating features between parts that relate to each other. Such as, a snap/hook between plastic parts or a hole pattern between two parts that need to be bolted together. Derived parts can be a huge time saver and can give you piece of mind knowing that your coupled parts are always up to date.
Categories: Tips & Tricks