This is an awesome tutorial on how you can use SOLIDWORKS and 3D printing to create your own detailed replica model spaceship. The spaceship in this tutorial is inspired by the USS Enterprise from Star Trek: Beyond. We’ll take a look at some new tricks and techniques used to create a replica like this one. If you missed it, you might want to check out our previous tutorial which covers some of the basics of designing for 3D printing and designing for tolerance.
Prefer to read rather than watch? Check out the text-based version of the video below:
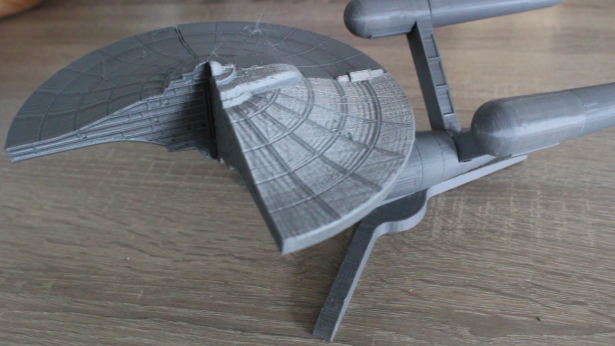
With this tutorial, we’re going to focus on designing for detailed models and how to use surfaces to your benefit, for things like adding details as well as tolerance complex cavities for proper fits. This tutorial is intended as a guide to get you on your way to creating your own replica props.
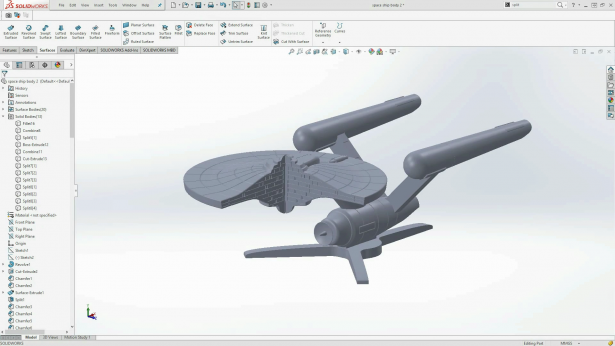
The spaceship was modeled using basic SOLIDWORKS features and surfaces. To start, the model was planned to fit within the restraints of a box. These dimensions act as a boundary to restrain the build.
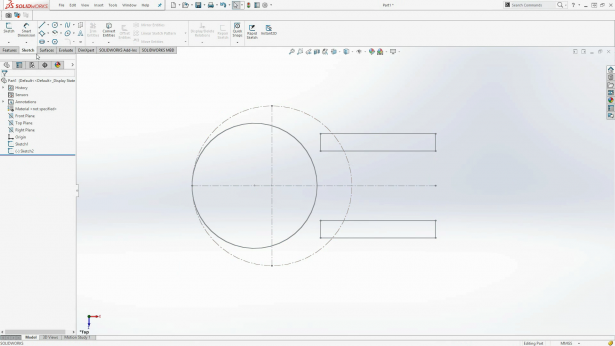
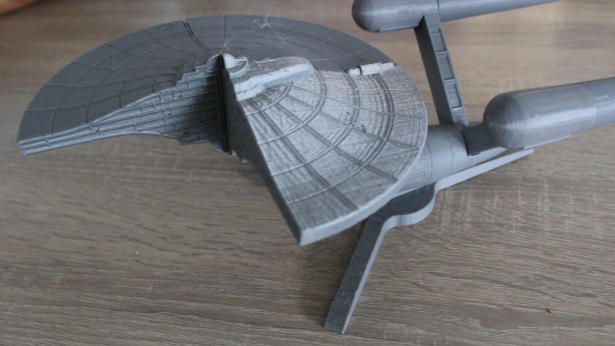
While building the model we cut the disk into a section. We then used surfaces to split the pieces into sections. We then chamfered the edges and combined the bodies. This gives the details of joint panels on the surface. We created a circular pattern and combined. This saves a lot of time, and we’ll use this same technique to create grooves on the rest of the body.
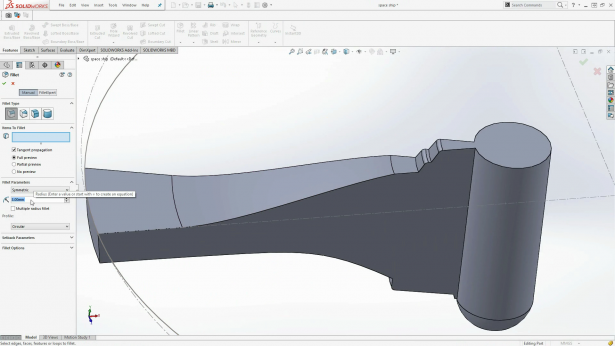
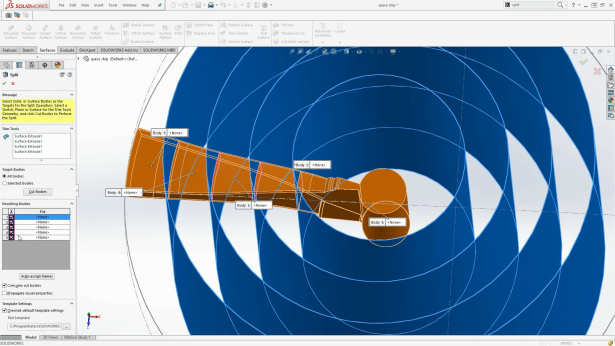
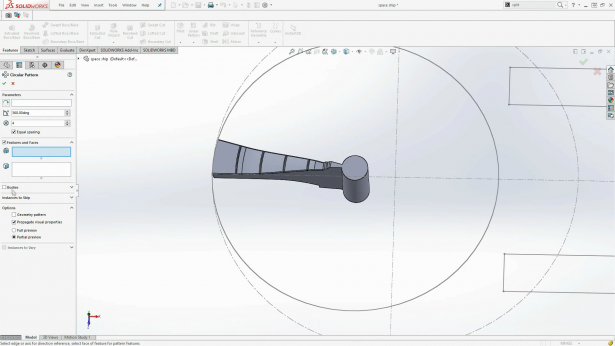
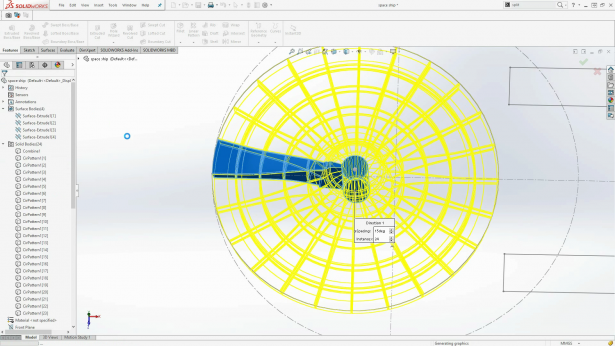
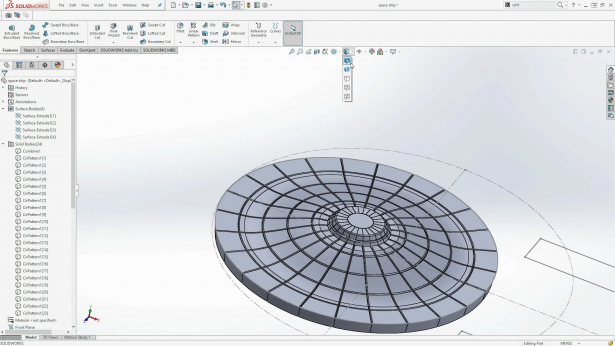
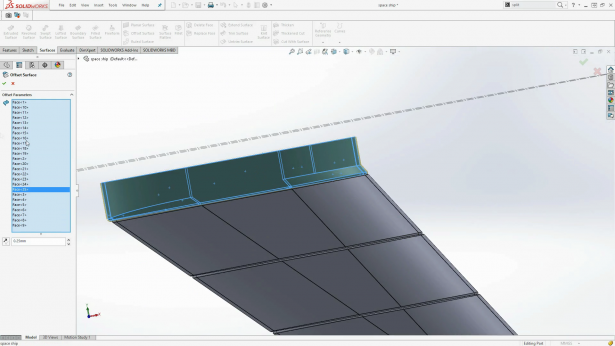
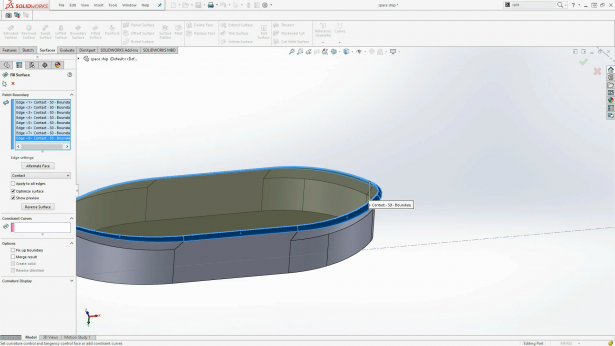
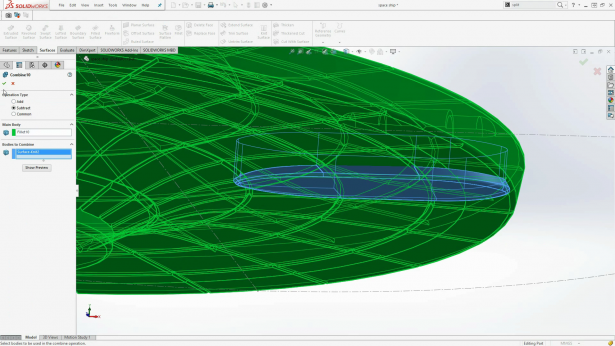
While building the model we didn’t merge any of the bodies until the end. Once ready, we tolerance the joints and combined the rest of the parts together. To joining the disk to the bottom cylinder, a little trick was necessary. Where the two bodies intersected an offset surface was generated. All bodies were hidden except the newly generated surface body. We then filled the gap, and knitted the surfaces and created a solid body. From here, we subtracted from the main disk and this created the perfectly toleranced cavity for the parts to join together.
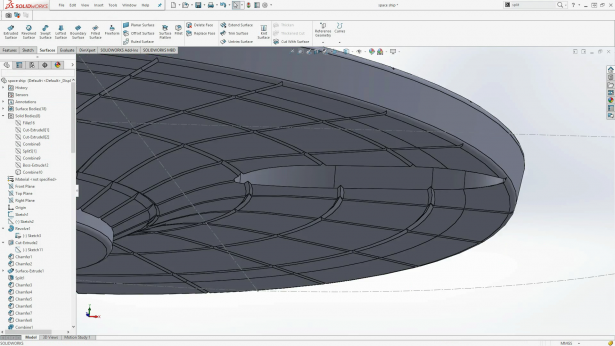
The last modelling steps necessary were to cut away the model and add the little details in the interior. Simple doors and levels were created as any smaller detail would not appear in the print. The larger your model, the more details you can create. Check out the tutorial of this AT-AT Walker from the Star Wars universe to see how more detail can be achieved.
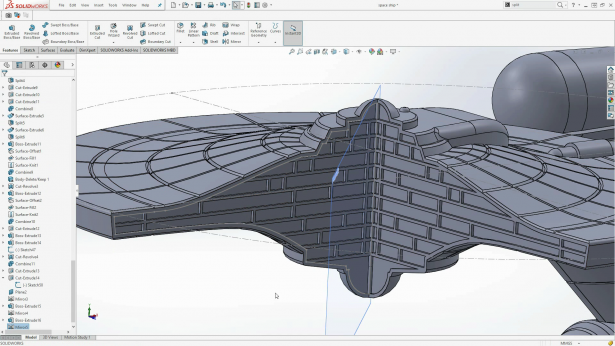
Now that the model is complete, we sent it off to print. Unfortunately, some problems did occur with the printing process. We encountered a large amount of under-extrusion. What this means is not enough material was depositing on the model, leaving the model full of holes, brittle, or you might even experience a full print failure.
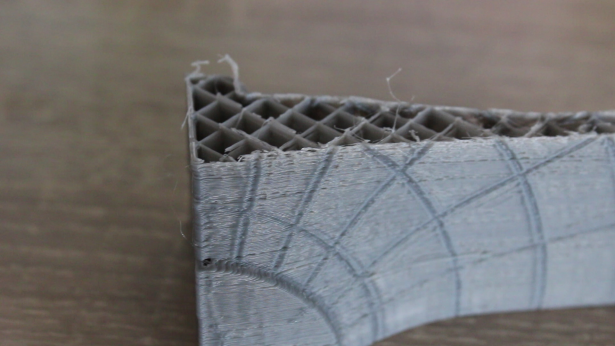
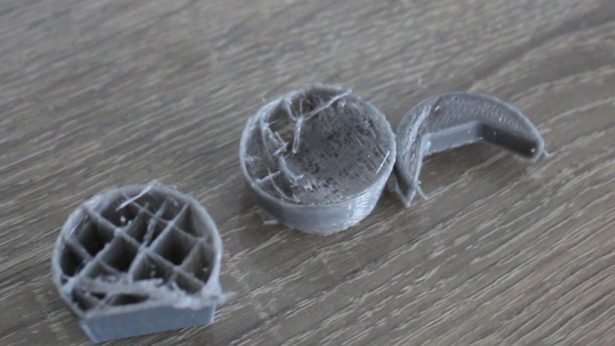
This can be attributed to a number of problems. The most common issue is nozzle blockage. Other possible issues could be: the material snagged, the chamber has debris in it, or there material diameter is inconsistent. In this case, the material diameter was inconsistent. Sometimes, the material is either slightly thicker or thinner than the required diameter. The issue was corrected with a simple spool change, and we were ready to rumble. Once all the parts were printed, it was time for assembly. This time the print went off without a hitch. Simple super glue was used for the joints, and the model was left unpainted. This is to inspire you to paint it in any way you want!
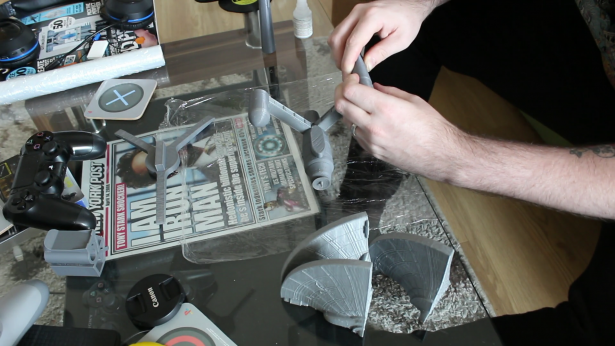
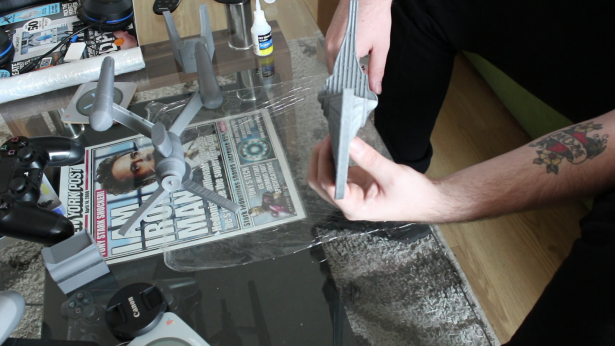
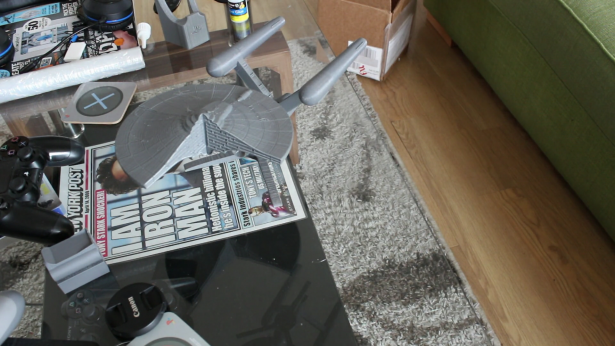
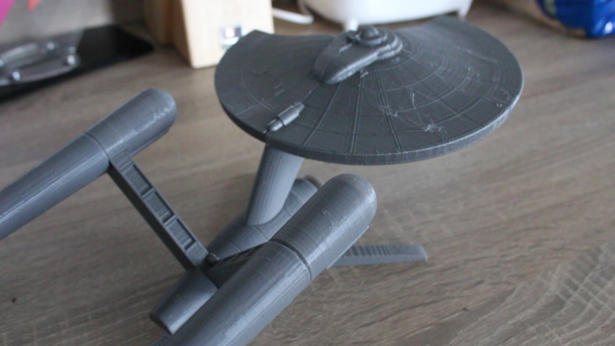
Once you have completed the model, you have yourself a really awesome detailed replica model spaceship inspired by Star Trek: Beyond. Using SOLIDWORKS and 3D printing together, we hope this simple tutorial will help you create your own replica models from your favorite games or movies – be sure to show us your beautiful creations!

Categories: Community, SOLIDWORKS, Tips & Tricks


